
Shoe Eyelets Factory Production Process Explained for Footwear Brands
2026-10-08
Every footwear brand knows that a single weak eyelet can unravel an entire production run. Yet the journey from raw metal to flawless eyelet is rarely discussed outside factory floors. At Kingming, we believe transparency in that process is what separates dependable suppliers from risky ones. This guide breaks down the real steps—cutting, forming, plating, and inspection—so you can specify eyelets with confidence, not guesswork.
Before the Eyelet Exists: Sourcing and Slitting Metal Coils
Metal coil sourcing sets the groundwork long before any eyelet takes shape. Buyers who fixate only on width and gauge overlook the subtle defects that turn a slitting run into scrap. A coil with a tight edge wave, uneven crown, or residual stress from the mill will not behave the same at the slitter head, no matter how carefully the knives are set. Checking temper, surface finish, and edge condition before the order is placed often costs less than discovering those flaws halfway through a run.
Slitting itself is less about cutting and more about controlled tearing along a line. The clearance between upper and lower knives, the depth of engagement, and the tension on the recoiler all shift how cleanly the strip separates. Too much clearance leaves a ragged burr; too little overheats the edges and shortens knife life. Operators who track blade wear with a simple log can predict when burr height will creep past tolerance instead of waiting for a customer complaint.
The payoff shows up downstream. Narrow strips with consistent width and a light, even burr feed smoothly through eyelet presses, reducing jams and tool wear. If the slit edges arrive with heavy rollover or wavy camber, the eyelet tooling has to fight the strip from the first stroke. That is why a well-run slitting line treats coil identity as a variable, not a given—each incoming heat and gauge gets its own setup, not a recycled recipe from the last job.
The Stamping Floor: How Progressive Dies Shape Eyelet Shells
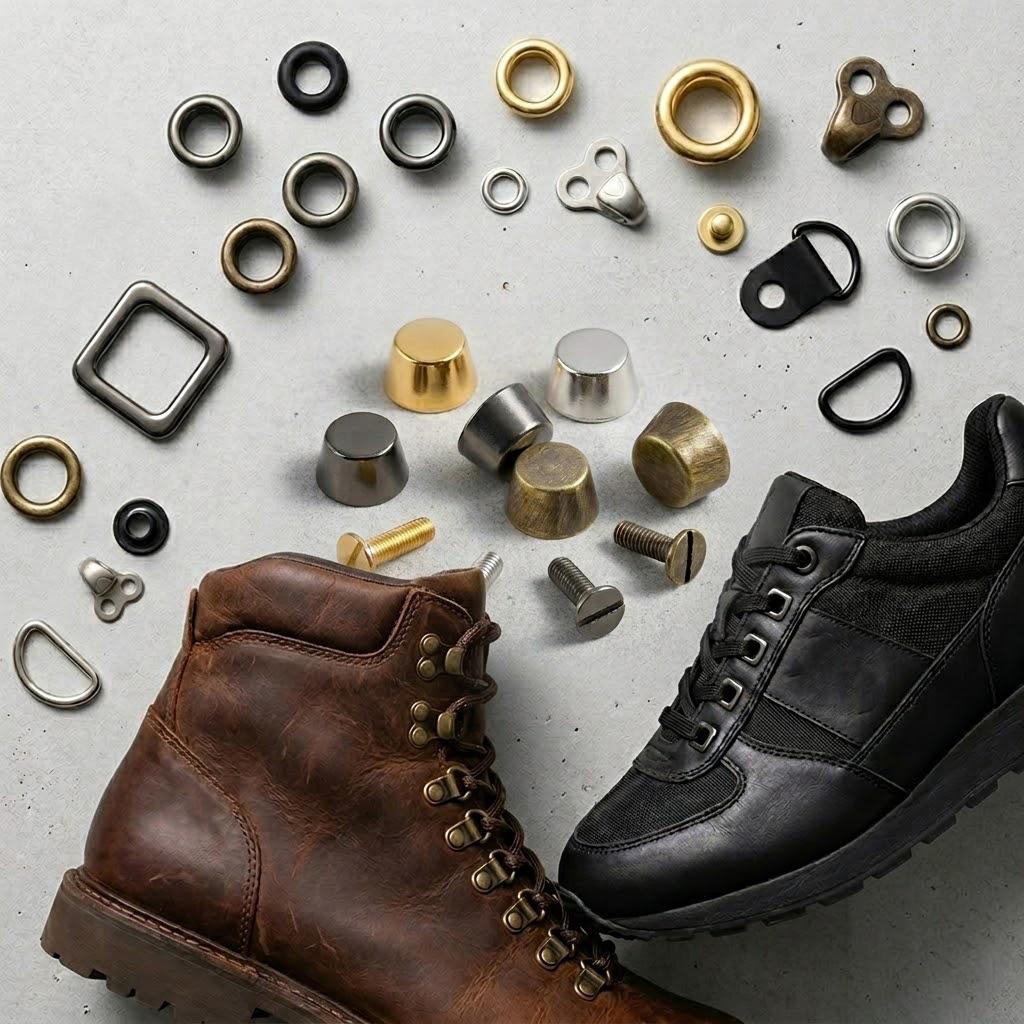
On the stamping floor, a coil of brass or steel unspools into the press. The progressive die doesn't make an eyelet shell in one hit; it walks the strip through a series of stations. The first station might lance a pilot hole, the next draws a shallow cup, and deeper draws follow to set the barrel height. Each stroke advances the strip, and every station adds a bit more shape.
The critical moments come mid-tool: piercing the center hole, shaving the rim, and coining the flange flat. These operations look small but control how the eyelet seats against fabric or leather. A worn punch here creates burrs that later snag thread. Toolmakers watch this part of the die closely, swapping punches before they drift out of tolerance.
By the final station, the shell is cut free from the strip and lands in a bin, still warm from forming. Progressive dies make this fast enough to fill thousands of shells per hour, but the real skill lies in balancing clearances and draw ratios so the metal flows without tearing. A well-tuned die runs quietly, almost rhythmically, and the parts drop out clean.
Barrel Forming and Washer Assembly: Two Tiny Parts, One Tight Fit
Getting a barrel-shaped connector to seat correctly inside a thin washer isn't just a matter of pressing them together. The barrel's slight taper means the washer tends to skew or catch on the edge during insertion, leaving gaps that won't pass a leak test. On the line, operators learn to feel for that subtle snap when the outer rim finally clears the barrel's shoulder—a tactile cue no torque spec can replace.
The real headache comes from tolerance stacking. A barrel that's a few microns over, paired with a washer that's a few microns under, and you're fighting a press fit that wants to gall. One shift we switched to pre-lubricated washers and saw scrap drop by half, but then the lube attracted dust from the conveyor. Now we keep a small air knife right before the forming station to clear any particles off the washer face.
What nobody mentions in the work instructions is how much the barrel's wall thickness matters at the open end. Roll the edge too thin and the washer will cut into it under vibration; too thick and you lose the spring-back needed for a tight interference fit. A good setup technician ends up measuring that lip with a micrometer every few hundred cycles, not because the print says to, but because a couple tenths of a millimeter is the difference between a seal that holds for a decade and one that fails the first time the housing flexes.
Plating, Coating, and Polishing: Finishing Touches That Brands Actually Notice
Walk through any design studio during a prototype review and you will see the same ritual: someone tilts a part under the light, runs a thumbnail along the edge, and asks for a different plating spec. It is rarely about the base material anymore. The way a surface catches light—whether it diffuses softly across a matte nickel or snaps back in a hard chrome reflection—tells a buyer more about the product's intended price point than any spec sheet. A well-executed plating job hides nothing. It forces every microscopic imperfection to either disappear or become obvious, which is exactly why brands agonize over it.
Coatings get even less credit because they are supposed to be invisible. Yet a good coating is what lets a plastic housing pass for brushed aluminum, or gives a control knob that slightly tacky, confident grip. Brand engineers will run a coin across the surface, press a piece of packing tape to it and rip it off, or leave a test part in a hot car over the weekend. If the coating blisters, hazes, or picks up fingerprints too easily, the whole product story falls apart. The ones that survive are the ones where you cannot quite tell where the substrate ends and the finish begins.
Polishing is where shortcuts show up first. Mirror polishing a stainless steel part takes time and a steady hand—go too fast and you get swirl marks, too slow and the surface turns wavy. But when it is done right, the reflection has a depth that makes the part feel heavier and more expensive than it is. Experienced brand managers will hold two samples side by side, both nominally "polished," and choose the one with the cleaner edge definition. They know their customers may never articulate why one product feels premium, but they will notice the difference at arm's length.
Inspection and Sorting: Catching Burrs, Cracks, and Off-Center Holes
Burrs tend to catch a fingertip before they catch a specification sheet. On the sorting bench, we keep a fine stone and a set of pin gauges close by; a light drag across the rim tells you more about edge break than any visual pass. Once a part shows a raised sliver, the whole tray from that machining cell gets pulled, not just the single offender.
Cracks don't always open up under shop lighting. A quick dip in layout fluid or a wipe with a contrasting dye makes the hairline paths visible, especially around pressed-in bosses or thin webs. For off-center holes, we don't reach for the CMM first. A snug-fitting pin inserted by hand will bind or lean if the position drifted, and that manual check filters a lot of bad parts before they reach the automated station.
Sorting works best when the reject trays stay separated by cause. Burrs usually point to a dull insert or too aggressive a feed. Cracks often trace back to material hardness or a missing radius. Off-center holes mean a fixture has shifted or a drill walked. Keeping those signals apart makes the next setup adjustment obvious instead of guessing at a mixed pile.
From Factory Floor to Footwear Line: Packaging Eyelets Without Damage
Eyelets leave the stamping or cutting station with edges that are still vulnerable. Workers on the factory floor sort them into shallow, compartmentalized trays rather than letting them drop into a shared bin. Each tray has a thin foam lining, and the eyelets sit in individual pockets so they never scrape against one another. That simple step prevents the tiny nicks and burrs that show up later as plating failures or uneven setting on the shoe line.
Once the trays are filled, they get stacked with rigid plastic separators between layers. The separators take the weight instead of the eyelets, so the bottom layer doesn't get flattened or bent under pressure. A snug-fitting lid keeps the stack stable, and a wrap of antistatic film keeps dust and moisture off the metal surfaces during the move from fabrication to the footwear assembly area.
At the footwear line, the trays are opened one at a time, and operators pull eyelets out with soft-tipped tweezers or gloved fingers. There's no tipping the whole tray onto a workbench, which would risk collision damage. If a tray shows any sign of being dropped or crushed in transit, the eyelets inside get a quick visual check under a magnifier before they go into the setting machine. That end-of-line habit has cut our rejection rate from packaging-related defects to nearly zero.
FAQ
The process starts with wire drawing to hit the required diameter, then the wire is fed into a multi-station progressive press. Each stroke blanks a small disc, draws it into a cup, pierces the center hole, and forms the flange. After that the eyelets are tumbled to knock off burrs, plated or coated, and sorted. Barrel length and flange width are set by tooling changes, not manual shaping.
They usually adjust the piercing punch size and the curling die rather than changing the entire line. A good factory will request a lace sample or at least the lace diameter spec, then run a short pilot batch to confirm the eyelet ID allows smooth lacing without being loose. They also measure ID with pin gauges at multiple points during the run.
For harsh conditions, a nickel-free triple plating with a thick top coat holds up better than basic zinc plating or raw brass. Some brands choose powder coating for a matte look, but it can chip if the flange isn’t rounded properly. Electrophoretic coating is another option when color consistency and corrosion resistance matter more than metallic shine. Testing with a salt spray cabinet is common before final approval.
Send a physical reference sample plus the closest Pantone code. If the sample is a painted part, ask the factory to match on actual plated metal, not on paper. Clarify whether the color will be applied to both the barrel and the flange or just the visible face, and confirm the acceptable gloss level. That prevents rework from mismatched expectations later.
Factories typically check plating thickness with an X-ray or coulometric tester, run a few samples through a lace abrasion test, and inspect under magnification for cracks or uneven coating. They also test the setting by pressing eyelets into a piece of the actual shoe material when possible, since a perfect eyelet can still fail if the barrel is too short for the material thickness.
If tooling already exists for the size, production can start within two to three weeks. New tooling often adds seven to fifteen days depending on complexity and factory backlog. Plating and color matching can add another week. Bulk production is fast, but packaging into small brand-specific boxes or bags often takes longer than people expect.
Look for sharp edges or burrs around the center hole, inconsistent flange width, dull or blotchy plating, and slight ovality in the barrel. A quick drop test on a hard surface can reveal plating adhesion problems. If the eyelets are magnetic, check that the base metal isn’t rusting under the coating by scratching a hidden sample.
Most factories can, but they may run the sizes separately and then combine them for shipping. It is less efficient, so expect a setup fee per variation or a higher unit price. Clear labeling on inner bags and outer cartons is critical to avoid confusion on the production floor and at the brand’s warehouse.
Conclusion
Footwear brands rarely see the inside of an eyelet factory, but the difference between a mediocre supplier and a reliable one starts long before the first hole is punched in leather. The process begins with raw metal coils—usually brass, steel, or zinc alloy—slit into narrow strips that match the intended eyelet diameter. On the stamping floor, progressive dies punch and draw these strips into shallow shells in a series of rapid, precise hits. It is here that subtle defects creep in if die maintenance slips: uneven rims, micro-cracks, or inconsistent wall thickness. The next stage pairs each stamped shell with a tiny washer, then rolls or presses the barrel over the washer to lock both parts together. A loose barrel means the eyelet will fall out on the production line, so factories measure the clinch force and barrel height at frequent intervals rather than trusting a single setup.
After forming, the eyelets move to finishing—plating, coating, or polishing—which is what brands actually see on the finished shoe. A dull finish or uneven plating will show up immediately in product photography, so the best factories control bath chemistry and plating thickness batch by batch. Inspection is not a single gate but a series of checks: optical sorters and line workers catch burrs, cracks, off-center holes, and washer gaps before the parts reach packaging. Finally, packaging matters more than most brands assume. Eyelets are small, easily scratched, and prone to tangling if dumped loose. Good suppliers pack them in compartmented trays or vacuum-sealed bags, separating layers with foam or paper to prevent finish damage in transit. When brands understand these six stages, they can ask sharper questions about die maintenance, plating adhesion, and packaging specs—details that separate a consistent supplier from one that only looks good in samples.
Contact Us
Contact Person: Jamie Zeng
Email: [email protected]
Tel/WhatsApp: +86 13728219269
Website: https://www.kmhardware.com